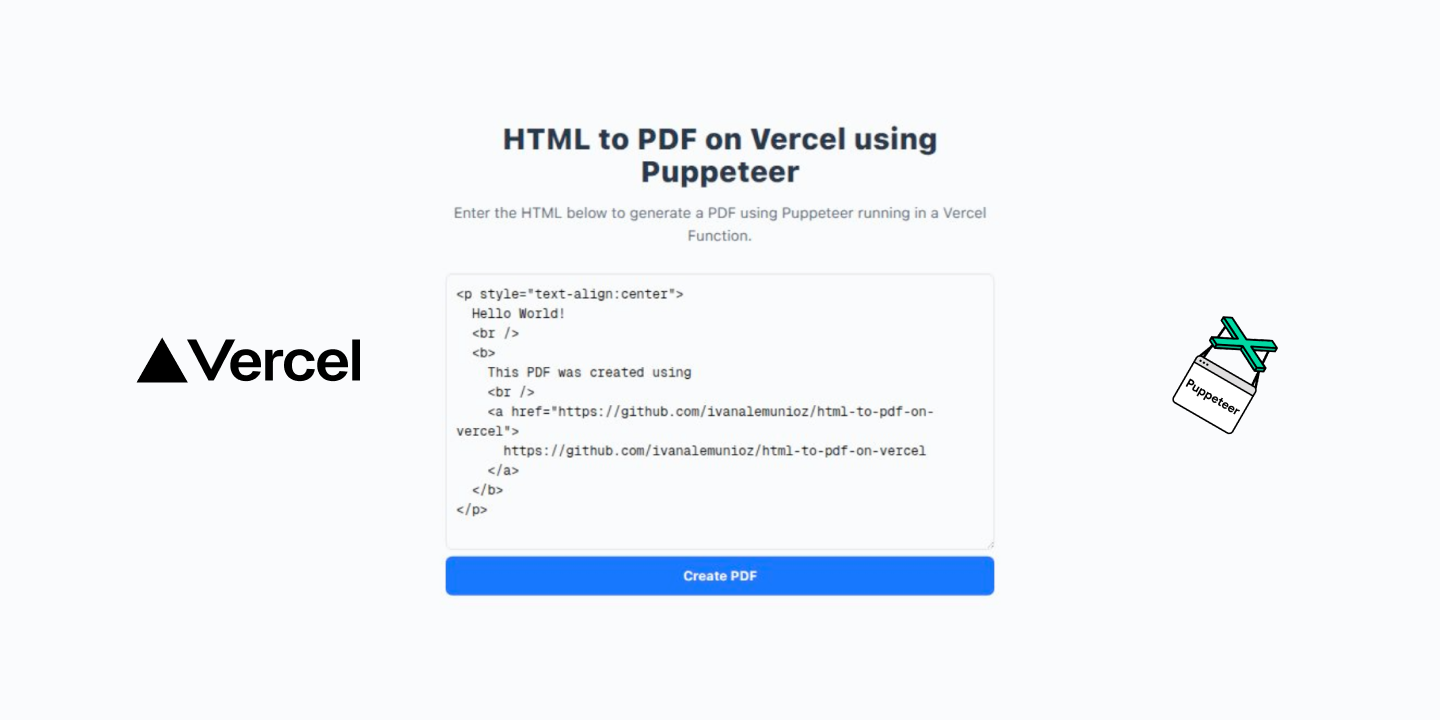
Deploying an HTML‑to‑PDF API on Vercel with Puppeteer.
A step-by-step guide to installing, configuring, and using an HTML‑to‑PDF API with Puppeteer on Vercel.

In this article, we will explore how to create an HTML-to-PDF API on Vercel using Puppeteer.
You can find the complete code in the GitHub repository.
Demo
https://html-to-pdf-on-vercel.vercel.app/
Step 1: Project Setup
npx create-next-app@latest html-to-pdf-on-vercel --typescript --tailwind --app
Now, install the packages puppeteer-core @sparticuz/chromium for running Puppeteer in Vercel and puppeteer for local development:
npm install puppeteer-core @sparticuz/chromium
npm install -D puppeteer
Step 2: Setup the HTML to PDF api route
Create a new file at app/api/pdf/route.ts:
import { NextRequest, NextResponse } from "next/server";
import puppeteer from 'puppeteer-core';
import chromium from '@sparticuz/chromium';

export async function GET(request: NextRequest) {
  const { searchParams } = new URL(request.url);
  const htmlParam = searchParams.get("html");
  if (!htmlParam) {
    return new NextResponse("Please provide the HTML.", { status: 400 });
  }

  let browser;

  try {
    const isVercel = !!process.env.VERCEL_ENV;

    const pptr = isVercel ? puppeteer : (await import("puppeteer")) as unknown as typeof puppeteer;

    browser = await pptr.launch(isVercel ? {
      args: chromium.args,
      executablePath: await chromium.executablePath(),
      headless: true
    } : {
      headless: true,
      args: puppeteer.defaultArgs()
    });

    const page = await browser.newPage();
  	await page.setContent(htmlParam, { waitUntil: 'load' });

    const pdf = await page.pdf({
        path: undefined,
        printBackground: true
    });
    return new NextResponse(Buffer.from(pdf), {
      headers: {
        "Content-Type": "application/pdf",
        "Content-Disposition": 'inline; filename="page-output.pdf"',
      },
    });
  } catch (error) {
    console.error(error);
    return new NextResponse(
      "An error occurred while generating the PDF.",
      { status: 500 }
    );
  } finally {
    if (browser) {
      await browser.close();
    }
  }
}
This route handles and HTML as a url query param and add it to the page with page.setContent() to then generate the PDF.
Step 3: Add a frontend to call the API
To interact with our API, let’s create a simple frontend. Replace the content of app/page.tsx:
"use client";

import { useState } from "react";

const defaultHtml = `<p style="text-align:center">
  Hello World!
  <br />
  <b>
    This PDF was created using
    <br />
    <a href="https://github.com/ivanalemunioz/html-to-pdf-on-vercel">
      https://github.com/ivanalemunioz/html-to-pdf-on-vercel
    </a>
  </b>
</p>`;

export default function HomePage() {
  const [html, setHtml] = useState(defaultHtml);
  const [loading, setLoading] = useState(false);
  const [error, setError] = useState<string | null>(null);

  const createPDF = async () => {
    if (!html) {
      setError("Please enter a valid HTML.");
      return;
    }

    setLoading(true);
    setError(null);

    try {
      const response = await fetch(
        `/api/pdf?html=${encodeURIComponent(html)}`
      );
      if (!response.ok) {
        throw new Error("Failed to create PDF.");
      }
      const blob = await response.blob();
      const objectUrl = URL.createObjectURL(blob);
      const link = document.createElement('a');
      link.href = objectUrl;
      link.download = 'output.pdf'; // Desired filename
      document.body.appendChild(link); // Temporarily add to the DOM
      link.click(); // Programmatically click the link to trigger download
      document.body.removeChild(link); // Remove the link
      URL.revokeObjectURL(objectUrl); // Release the object URL
    } catch (err) {
      setError(
        err instanceof Error ? err.message : "An unknown error occurred."
      );
    } finally {
      setLoading(false);
    }
  };

  return (
    <main className="flex min-h-screen flex-col items-center justify-center p-24 bg-gray-50">
      <div className="w-full max-w-2xl text-center">
        <h1 className="text-4xl font-bold mb-4 text-gray-800">
          HTML to PDF on Vercel using Puppeteer
        </h1>
        <p className="text-lg text-gray-600 mb-8">
          Enter the HTML below to generate a PDF using Puppeteer running in
          a Vercel Function.
        </p>
        <div className="flex gap-2 flex-col">
          <textarea
            value={html}
            rows={13}
            onChange={(e) => setHtml(e.target.value)}
            placeholder="https://vercel.com"
            className="flex-grow p-3 border border-gray-300 rounded-lg focus:ring-2 focus:ring-blue-500 text-black focus:outline-none font-mono"
          />
          <button
            onClick={createPDF}
            disabled={loading}
            className="px-6 py-3 bg-blue-600 text-white font-semibold rounded-lg hover:bg-blue-700 disabled:bg-gray-400 transition-colors"
          >
            {loading ? "Creating PDF..." : "Create PDF"}
          </button>
        </div>
        {error && <p className="text-red-500 mt-4">{error}</p>}
      </div>
    </main>
  );
}
Step 4: Vercel Configuration
To ensure Puppeteer runs correctly when deployed, you need to configure Next.js.
Update your next.config.ts file.
import type { NextConfig } from "next";

const nextConfig: NextConfig = {
  /* config options here */
  // The `serverExternalPackages` option allows you to opt-out of bundling dependencies in your Server Components.
  serverExternalPackages: ["@sparticuz/chromium", "puppeteer-core"],
};

export default nextConfig;
Step 4: Try it
Run the development server:
npm run dev
Open http://localhost:3000 with your browser to try it.